Hello and welcome to MoboDevStuff.
In this session, we will go through Xcode and its different areas to start building apps. In the last session, we saw how to create an iOS project in Xcode. First read it, then come back here to know more about Xcode.
In this session, you’ll learn:
- How to open existing iOS projects in Xcode?
- Project Settings
- Toolbar / Status Bar
- Navigation Area
- Editor Area
- Utility Area
- Debug Area
…
1. How to open existing iOS projects in Xcode?
In the last session, we saw how to create an iOS project in Xcode. To open the existing project, launch Xcode. You can see the Welcome to Xcode pop-up, in which you can see the recently created projects in the right side panel.
Refer to the image below

Double clicked on the project will open Xcode’s main window
The main window shows the necessary files and resources for developing your application. The main window contains the following areas:

1. Toolbar / Status Bar
The toolbar / Status bar is used to run or stop the application. When we run the application, it goes through different steps like building the application, launching the application then attaching the application, and finally, running the application on a device or simulator. So it will show the different stages/status of the application; therefore, the toolbar is called a status bar. When we stop the application, it will finish the running application.
In the toolbar, we can change the scheme, edit it, or we can add a new scheme for our application.

Also we can select the different devises from target option where we want to run the application.

2. Navigation Area
In the navigation bar, we can access different parts of your project in the main window. We can use this area to select the files and edit the selected files in the editor area. From this area, we can open, add, delete and rearrange the files and folders as well. Also, we can search the files and open the recent files from the navigation area. We will see how to arrange the files and folder in the next session.


3. Editor Area
We can use this area to edit the files. We selected files in the navigation area and that selected files we can edit into the editor area. We can also use this editor area to set the breakpoints to control the execution of the program. If we select any UI-related files in the navigation area that file we can edit them in the editor area. If we open the assets folder, we can add/edit/delete the images or colors in the editor area. That means the editor area changes based on the type of file we choose from the navigation area.

4. Utility Area
This utility area displays the information about selected files in the navigation area. If we select some storyboard file then we can edit the properties of UI elements from the attributes inspector of the Utility area. In the next session, we can see how to edit UI elements.

5. Debug Area
We use this debug area to control the execution of our app and inspect the program. When the app stops at the breakpoint, use this area to go through the steps from the code or we can continue the execution. In next session we will se how to set breakpoints and how to inspect the program

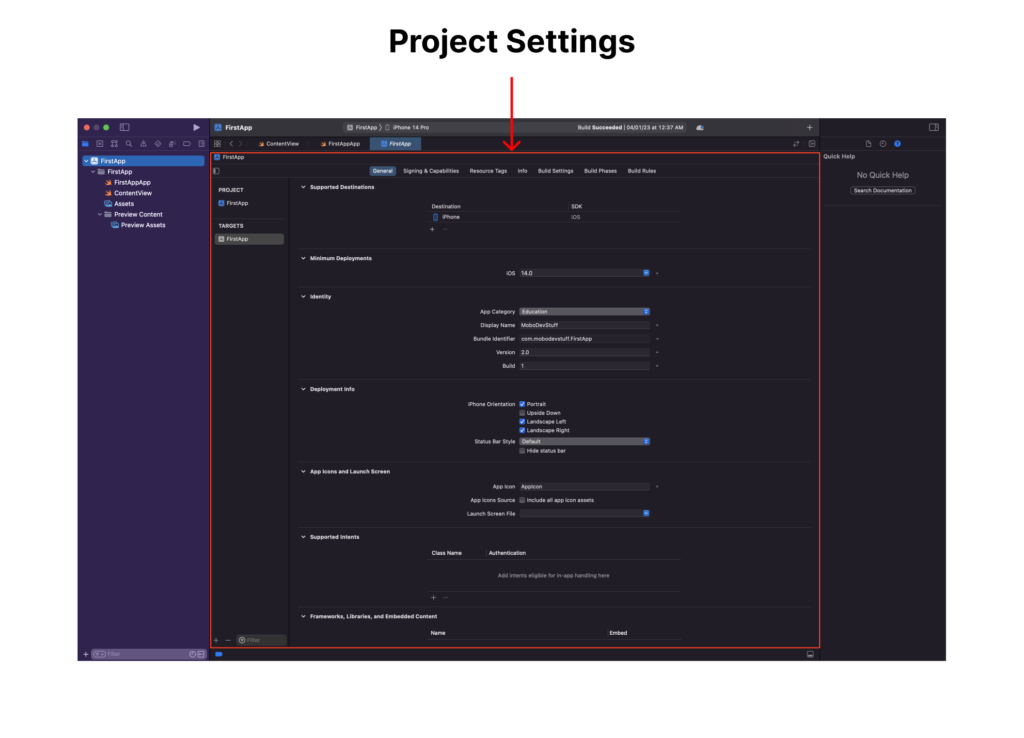
6. Project Settings
Project Settings are used to change the properties we entered when creating our project. To change the project properties, select the project name in the navigation area, then the project settings open in the editor area.

That’s it. 🚀
In the next session, We will see how to create a project using a storyboard and how to manage files and folders in Xcode.