Hello and welcome to MoboDevStuff.
In the last session, we saw how dose an mobile application works. In this tutorial, we’ll have an Xcode introduction and then we will go through the step-by-step process of creating a new Xcode project for our iOS app.
…
Step 1: What is Xcode, and how to download it?
Xcode is an Integrated Development Environment (IDE) developed by Apple and it is used to develop software for macOS, iOS, watchOS, and tvOS.
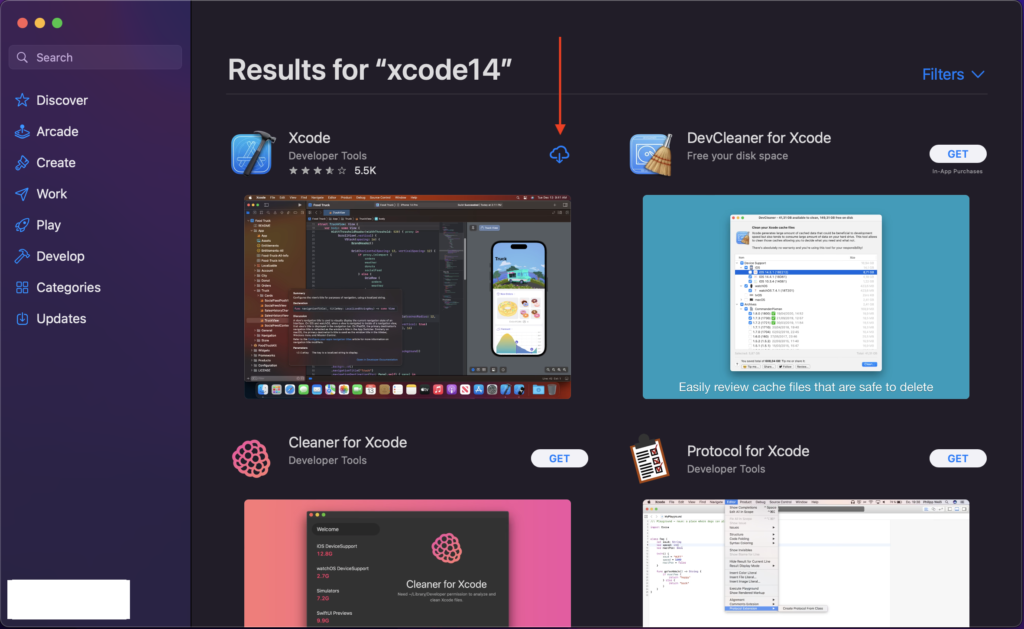
It’s free to download, open the App Store and search for XCode. Click on the download button and start the installation process.
Xcode is a large piece of software so downloading could take a while depending on your network connection. By default, Xcode is installed into your /Application folder.
Step 2: Launch Xcode
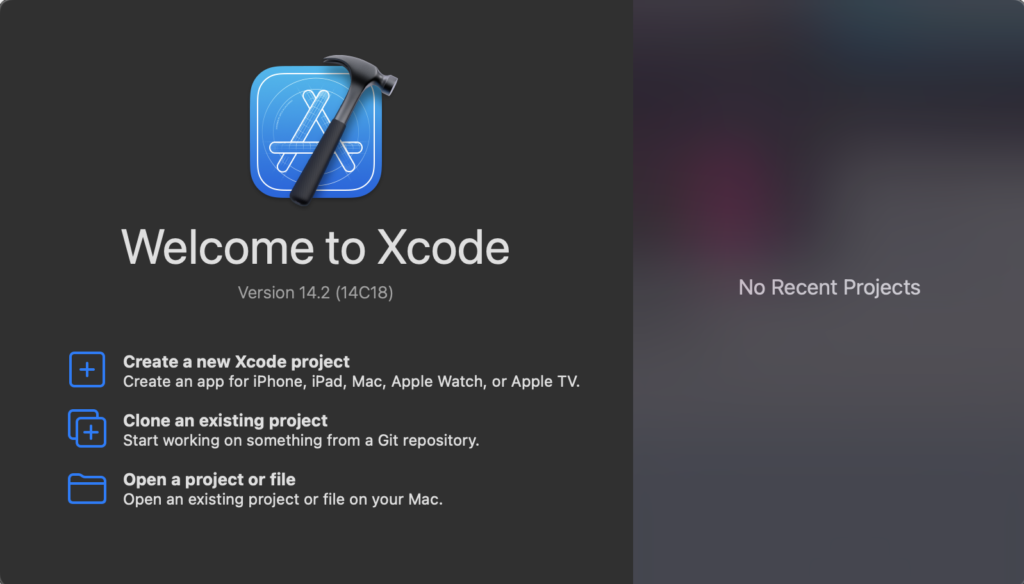
Launch the Xcode. You will see the Welcome to Xcode window with version information.
Step 3: Create a new Xcode Project
In the welcome screen, click on the Create a new Xcode project as shown below.

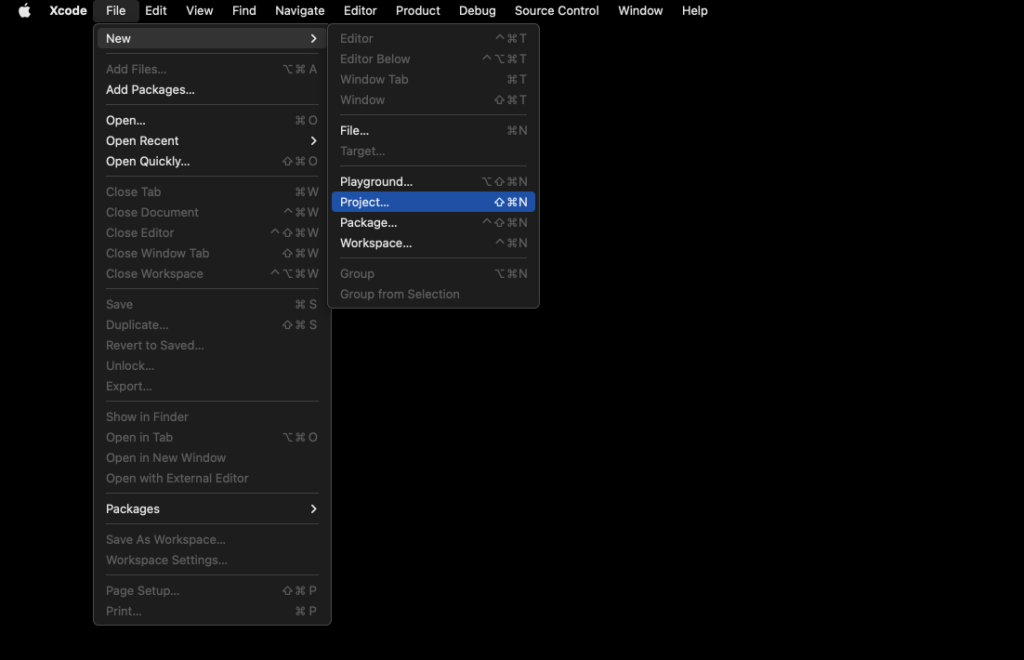
OR You can go to the File Menu then select New and select Project as shown below or press Shift + Command + N.
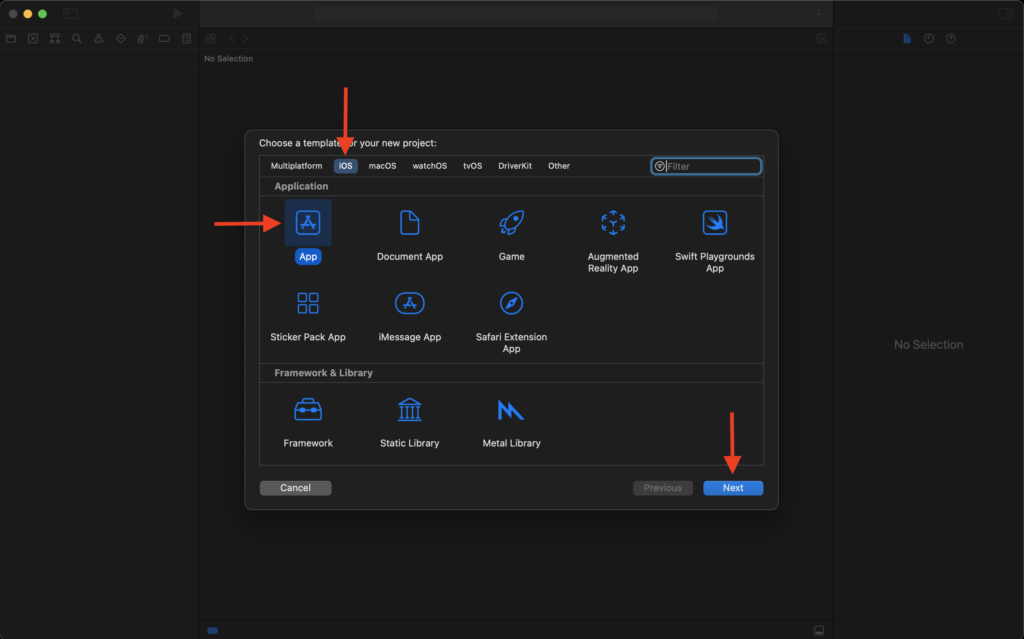
Step 4: Choose a template for your new project
Here we got multiple templates for platforms like iOS, macOS, watchOS, tvOS, etc. But what we want is iOS. So, select iOS, choose App from the Application section and click the Next button. Refer to the below image.
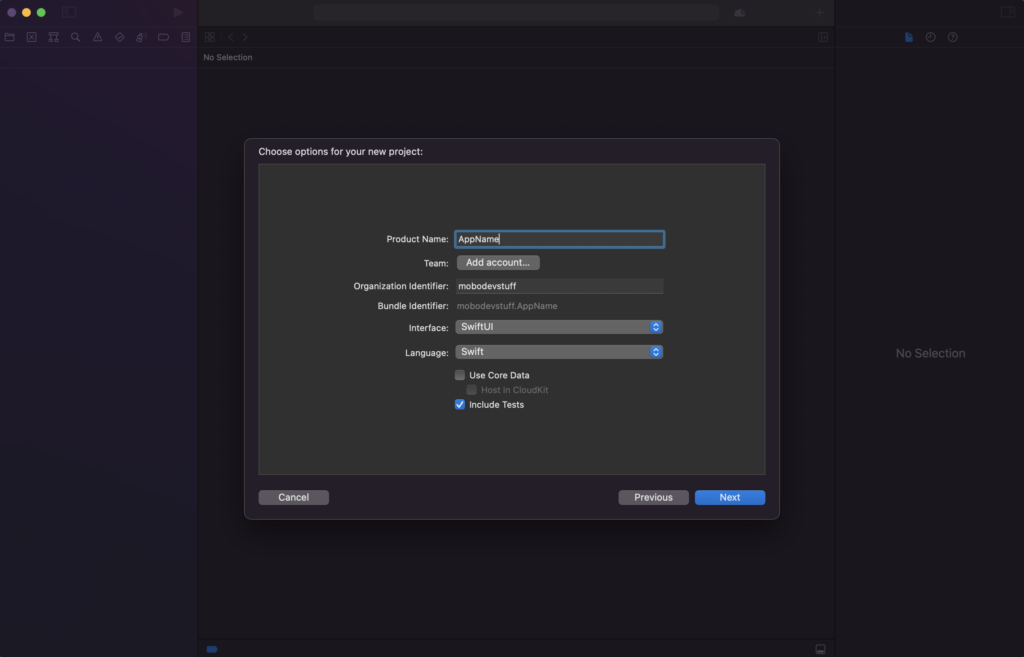
Step 5: Choose options for your new project
It’s a really important step don’t skip. In this section first, enter the Product / Project / App Name that you want and notice the Bundle Identifier is already starting to build. Bundler Identifier is created in the reverse domain name like com.mobodevstuff. So enter the Organization Identifier in reverse domain order.
What is a bundle identifier?
Bundler Identifier = Product Name + Organization Identifier.
It is a kind of web address. Bundler Identifier means something unique so that our app will identify uniquely on the App Store.
Then select the Team you’re working on OR if it is for personal purpose then just select Personal Team or None.
Change the User Interface that you want. Here I am selected SwiftUI. You can change it from SwiftUI to Storyboard.
Now the very last thing is to make sure that you selected Swift from the Language section. Because my all tutorials are in Swift programming language.
And the rest of the checkboxes, you can leave for now. The first Use Core Data checkbox is when your app uses a local database and the second Include Tests checkbox is to create and run unit tests, performance tests, and UI tests for your Xcode project.
Finally, click on the Next button.
Step 6: Save your project
Now it’s going to ask you where you want to save your app. And if you have a specific folder to save it then this is the point to go ahead and navigate to the folder that you want to save. Alternatively, you can simply save the project on the desktop.
If you don’t want a git repository then uncheck the Create Git repository on my Mac checkbox else leave it selected and click on the Create button to create your first iOS project.

Congrats 🎉 Meet your first new iOS project.😁

That’s it. 🚀
So in this session, we saw what is Xcode and how to download Xcode and how to create a new iOS project. In the upcoming tutorial, we will explore Xcode in depth.